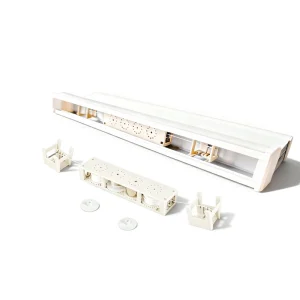
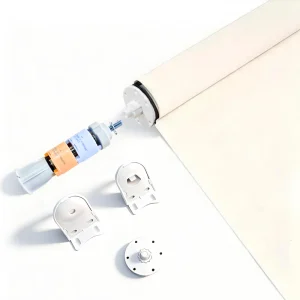
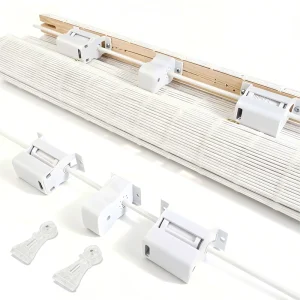
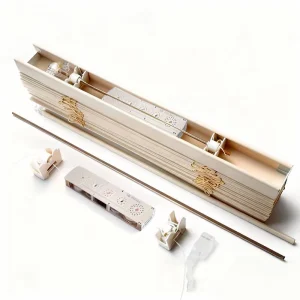
Patented Rechargeable Motor System for Automated Roller Shades
| Model | Battery (mAh) | Speed (rpm) | Torque (Nm) | Length (mm) | Charging | IP Class |
|---|---|---|---|---|---|---|
| DT25B1/28-32X | 2600 | 28 | 0.7 | 396 | USB-C 5 V | IP20 |
| DT25B2/28-32X | 5200 | 28 | 0.7 | 461 | USB-C 5 V | IP20 |
| DT25B1/25-32B | 2600 | 25 | 0.4 | 396 | USB-C 5 V | IP20 |
| DT25B2/25-32B | 5200 | 25 | 0.4 | 461 | USB-C 5 V | IP20 |
System Overview
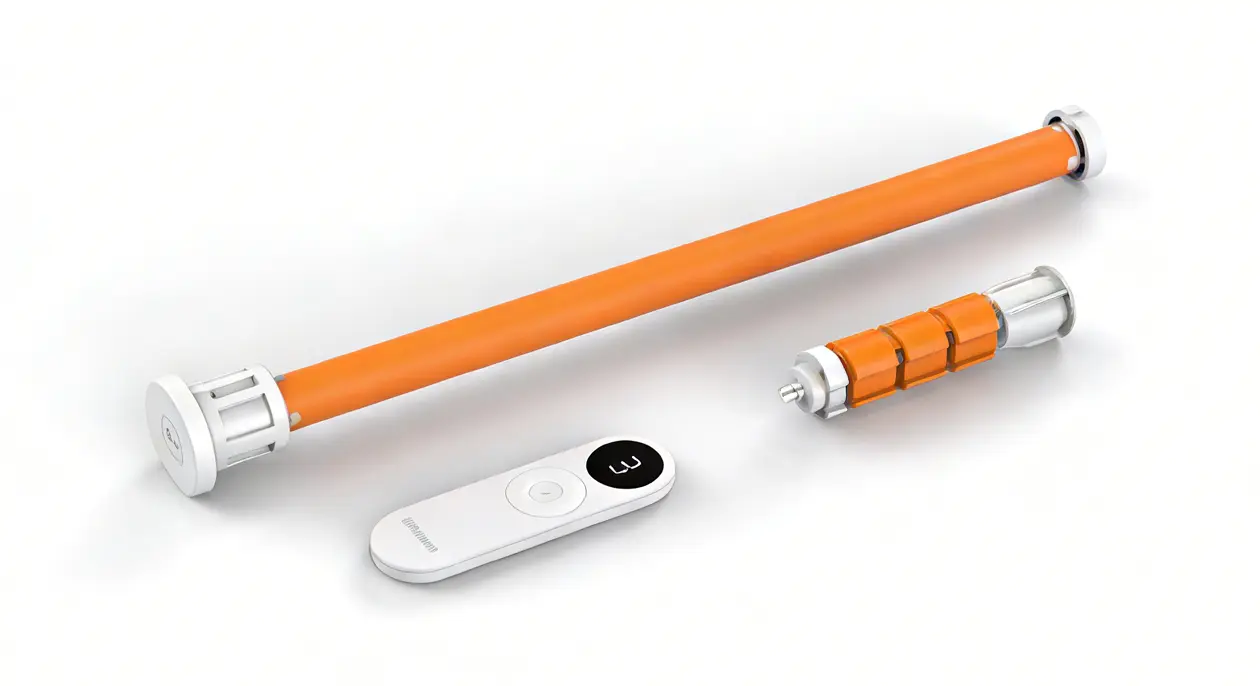
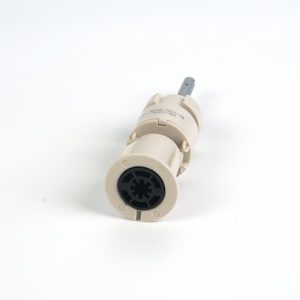
The Patented Rechargeable Motor System integrates a compact lithium-ion pack and microcontroller into a 25 mm tubular drive. Compatible with 28 mm / 32 mm / 38 mm roller tubes via quick-adapt couplers, it simplifies factory assembly and field maintenance. The R1 / P2 workflow enables limit, channel, and favorite-position setup with minimal steps, improving installation efficiency and alignment precision.
- Rechargeable power with Type-C charging for clean installations.
- Long battery endurance: typical use after a full charge lasts 6–9 months.
- Multi-channel control: remote channels 1–15, plus “A” for controlling all configured devices.
- Precise positioning: top/bottom limit positions plus optional upper/lower learning positions.
- Installer-friendly pairing with clear LED feedback.
- Compact DT25 form factor with multiple torque/speed/battery options.
System Overview
Package Contents
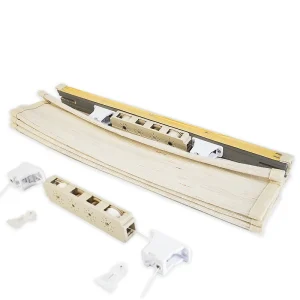
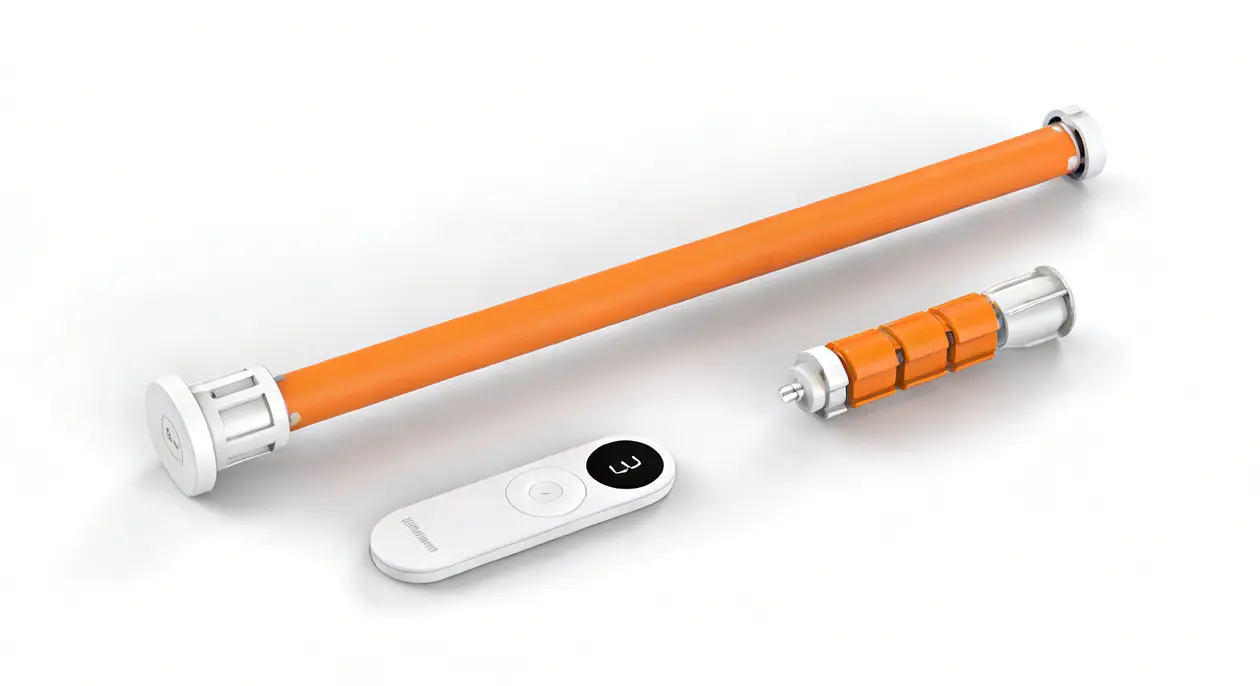
- Tubular motor
- Remote
- USB Type-C cable
- User manual
 |
|
Controls and Indicators
- Motor button: R1
- Motor indicator: LED
- Remote front buttons: Up, Down, Stop, Left (Channel-1), Right (Channel+1)
- Remote internal buttons: P1, P2
- Remote display: channel number (1–15) and “A” for all devices
Technical Specifications
Operating temperature: 0°C to 40°C. Protection class: IP20.
Setup and Operation
Power On and Power Off
- Power on: short-press R1 twice (interval less than 1 second). Blue LED flashes to confirm.
- Power off: short-press R1 four times (interval less than 1 second). Red LED flashes to confirm.
Remote Pairing
- Ensure the shade is at the top limit position.
- Press and hold the remote Up button.
- Press the motor R1 once, then release.
- Red and blue LEDs flash alternately 3 times to confirm successful pairing.
Channel Switching (1–15, plus All)
- Use Left to switch to Channel-1 and Right to switch to Channel+1.
- Channel number on the display indicates the active channel.
- When “A” is displayed, the remote can control all set-up devices.
Lock and Unlock the Maximum Channel Value
- Lock: press and hold P1 for 3 seconds to lock the current channel as the maximum.
- Unlock: press and hold P1 again for 3 seconds to reset the maximum channel value.
Remove Remotes
- Remove all remotes: at the top position, short-press R1 6 times to clear all pairings. Red/blue LEDs flash alternately 3 times.
- Remove a single remote: press P2 6 times to remove the remote from the device.
Positions: Limits and Learning Stops
Top Limit Position Setting
- Move the shade to the top position.
- Press R1 once; blue LED flashes once.
- Setting is complete.
Bottom Limit Position Setting
- Move the shade to the bottom position.
- Open the remote back cover.
- Press and hold P2 for 3 seconds until red/blue LEDs flash alternately 3 times.
- Close the back cover. Setting is complete.
Upper Learning Position (Favorite Up Stop)
- Move the shade to the desired highest stop position (must be between the limit positions).
- Press and hold Stop + Up simultaneously until red/blue LEDs flash alternately 3 times.
- After setting: short-press Up to run directly to this position; long-press Up to run to the top limit.
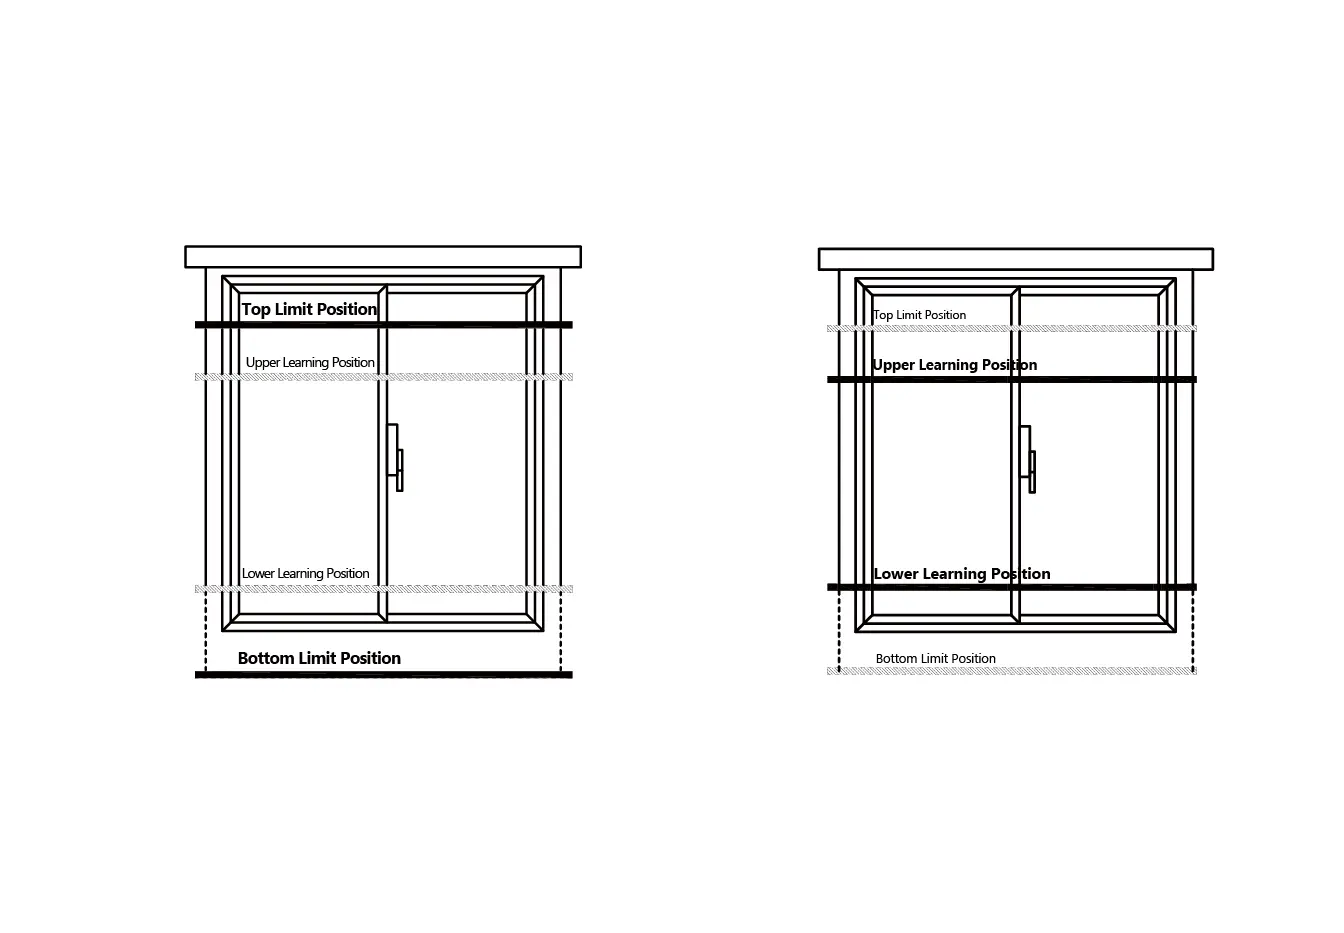
Lower Learning Position (Favorite Down Stop)
- Move the shade to the desired lowest stop position (must be between the limit positions).
- Press and hold Stop + Down simultaneously until red/blue LEDs flash alternately 3 times.
- After setting: short-press Down to run directly to this position; long-press Down to run to the bottom limit.
Notes: Learning positions must be set between the limit positions. The upper learning position must be higher than the lower learning position.
To change limit or learning positions, repeat the steps above.
Charging and Battery Guidance
Charging
- First use: charge at least 10 hours to fully charge before using.
- Battery care: fully charge every 6 months to extend battery life.
- Typical usable time: a full charge supports normal operation for 6–9 months.
Low Battery Alerts
- When the motor stops and the indicator flashes red twice, the battery is low: charge immediately.
- If the motor will not start and the indicator flashes red twice, low-battery protection is active: charge right away.
Light-Off Charging Mode
- Enter: with no charging cable connected, press P2 4 times. Blue light flashes 2 times to confirm.
- Exit: press P2 4 times again. Blue light flashes 2 times to confirm exit.
- In this mode, the indicator stays off while charging with a Type-C USB cable.
 |
|
Long-Term Storage
If not using the motor for a long time, fully charge it first, then short-press R1 four times to power off.
LED Status Guide
| Scenario | LED Indication |
|---|---|
| Power on | Blue LED flashes once |
| Power off | Red LED flashes once |
| Remote pairing success | Red and blue LEDs flash alternately 3 times |
| Clear all remotes | Red and blue LEDs flash alternately 3 times |
| Learning position set success | Red and blue LEDs flash alternately 3 times |
| Bottom limit set success | Red and blue LEDs flash alternately 3 times |
| Reaching limit or learning position | Blue LED fast flashes 2 times (or red flashes twice when battery is low) |
| Low battery | Red LED flashes twice |
| Charging (regular mode) | Blue LED flashes |
| Charging completed (regular mode) | Blue LED stays on steadily |
Safety and Use Cautions
- Do not throw the product into fire (risk of explosion, fire, or pollution).
- Do not use in wet environments or expose to direct water.
- Keep out of reach of children to avoid damage from dropping or misuse.
- To extend remote battery life, press buttons for about 0.5 seconds each time with about 1 second between presses.
Typical Applications
- Residential automated roller shades for bedrooms, living rooms, and nurseries
- Commercial window shading in offices, meeting rooms, and hospitality projects
- Retrofit projects needing clean installs without hardwired power lines
- OEM private-label roller shade platforms requiring consistent setup flow and multi-channel control
FAQ
Is this patented rechargeable motor system suitable for automated roller shades in retrofit projects?
Yes. Rechargeable operation and Type-C charging make it friendly for retrofit installs where hardwiring is inconvenient.
How many channels can the remote control?
The remote supports channels 1–15, plus an “A” mode to control all configured devices.
How do I prevent the remote from scrolling through unused channels?
Use the maximum channel value lock: press and hold P1 for 3 seconds to lock the current channel as the maximum.
What is the recommended first-charge time?
Charge for at least 10 hours before first use to ensure full battery.
How long does a full charge typically last?
Under normal use, a full charge typically supports motor operation for 6–9 months.
What should I do if the motor will not start and the indicator flashes red twice?
This is low-battery protection. Charge the motor immediately.
Can I set favorite stop positions besides the top and bottom limits?
Yes. You can set an upper and a lower learning position within the limit range using Stop+Up and Stop+Down.
How do I remove all paired remotes if the device is being reassigned?
Move to the top position and short-press R1 six times. Red/blue LEDs flash alternately 3 times to confirm deletion.
Is it possible to charge without indicator lights?
Yes. Enable light-off charging mode by pressing P2 four times while not connected to a charging cable; blue flashes twice to confirm.
What environment is the motor designed for?
It is designed for indoor use with an operating temperature range of 0°C to 40°C and IP20 protection class.